Global eSIM Explained: How One Profile Replaces Roaming Across 200+ Countries
Have you ever landed in a new country and felt that pang of anxiety about staying connected? A global eSIM is a digital SIM card embedded directly in your phone, allowing you to instantly download a local carrier profile without swapping physical cards. It works by scanning a simple QR code or using an app to activate a data plan, so you’re online within minutes of arrival. This means you can enjoy seamless, affordable connectivity across multiple countries, avoiding roaming fees and the hassle of hunting for a local SIM shop—truly plug-and-play travel freedom.

What Exactly Is a Global eSIM and How Does It Differ From a Physical SIM?
A global eSIM is a digitally embedded SIM chip inside your phone that stores multiple carrier profiles, letting you download and switch data plans for nearly any country instantly—no physical card insertion or removal. Unlike a physical SIM, which is a removable plastic chip tied to one carrier and requires swapping or buying a new card for each region, a global eSIM eliminates hardware changes entirely. You scan a QR code or use an app to activate a local or regional plan, often within minutes, and you can hold several profiles simultaneously while choosing which one is active.
Your phone becomes the SIM card itself, so switching networks is a software action, not a physical transaction.
Physical SIMs lock you to a single provider until you replace them; a global eSIM decouples connectivity from hardware, giving you friction-free roaming and multi-country flexibility without ever opening your tray.
The Core Difference: Embedded Chip vs. Plastic Card
The core difference between a global eSIM and a physical SIM boils down to hardware form: a **soldered embedded chip** versus a removable plastic card. A physical SIM is a tangible, swappable piece of plastic you insert into a tray, requiring a new card for each carrier change. In contrast, an eSIM is a tiny, non-removable chip wired directly into your device’s motherboard, storing multiple carrier profiles digitally. This means you switch networks by scanning a QR code or tapping an app, not by hunting for a pin and a new SIM. The practical result: no physical swapping, no lost cards, and no tray—just instant over-the-air activation.
- Physical SIMs require manual insertion and removal; the eSIM chip stays permanently inside your phone.
- A plastic card holds one profile at a time; the embedded chip can store several global profiles simultaneously.
- Changing carriers with a plastic card means buying and waiting for delivery; with the chip, you download a profile in minutes.
- The plastic card can be damaged or lost; the embedded chip is protected by the device’s body.
Why “Global” Means More Than Just International Roaming
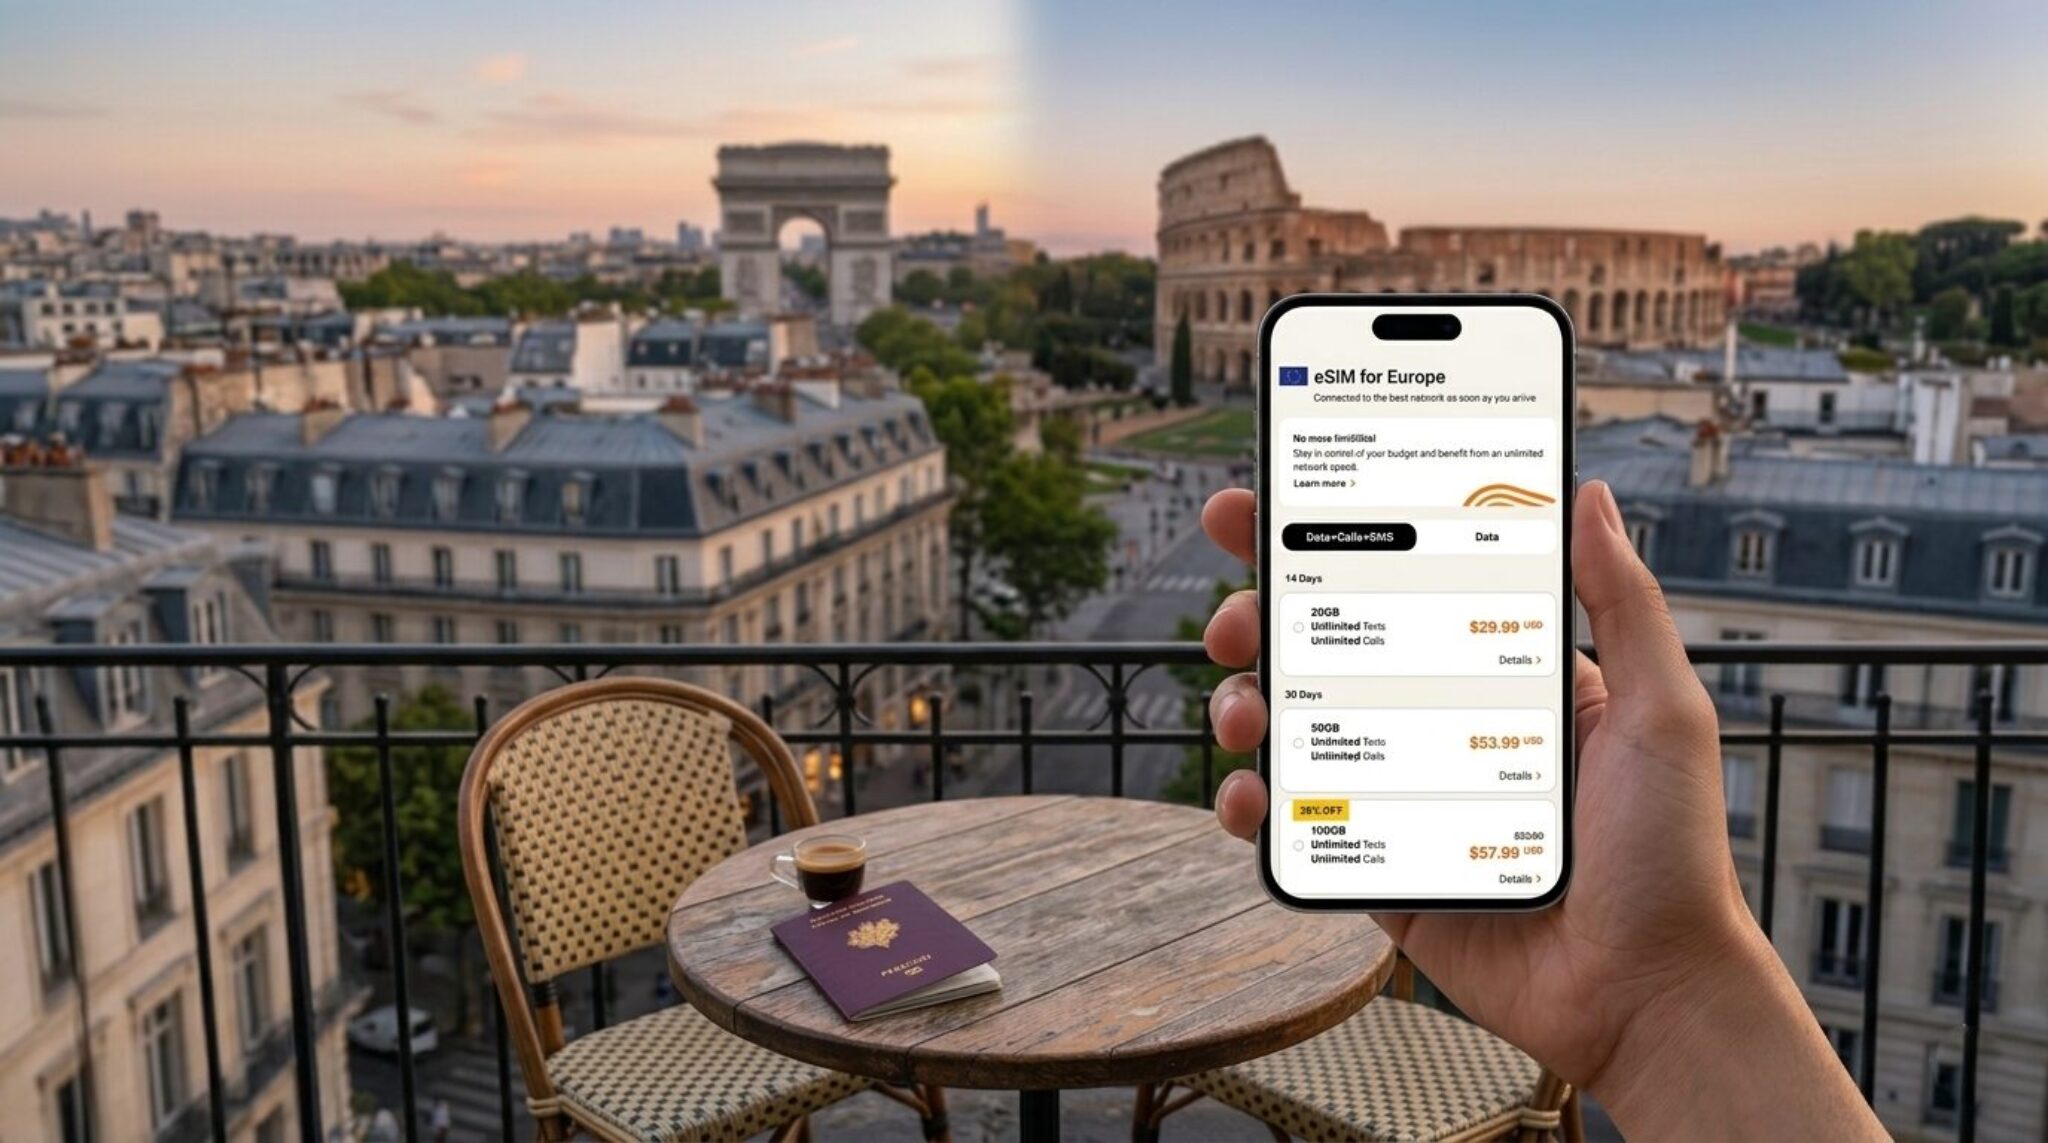
A “global” eSIM goes beyond simple international roaming by offering multi-network access across multiple countries through a single profile, not just a roaming agreement with one home carrier. Instead of incurring per-day roaming fees, you proactively install a data plan that connects to local towers in dozens of destinations. This means the eSIM actively switches between regional partners for better coverage and stable speeds, whereas roaming ties you to a single foreign network regardless of signal quality. You also gain immediate network access upon landing, without manually searching for carriers, and you manage connectivity via a digital app rather than relying on your home provider’s roaming partnerships.
A global eSIM provides fluid, multi-network connectivity across many countries, unlike roaming’s single-network dependency.
How Does a Worldwide Data Plan Actually Work When You Land in a New Country?

When you land, your phone pings the first local tower it finds, and your global eSIM automatically negotiates a roaming agreement with that network—no SIM swapping or airport kiosk needed. The plan’s backend identifies which local carrier has the strongest signal and activates a temporary profile for you, often within seconds of switching off airplane mode. Data simply flows through that partner network, and your home carrier’s network is completely bypassed; you’re billed against your pre-purchased global data bucket. *Q: Does it connect instantly?* A: Usually yes, because the eSIM holds a list of partner networks, so it latches onto one before you even open your maps app. Just ensure data roaming is toggled on, and you’re live.
The Instant Network Switching Process Explained in Simple Terms
When your plane touches down, your New Zealand eSIM global eSIM scans for available local towers in seconds. It uses a stored profile that contains agreements with multiple carriers, so it automatically selects the strongest compatible signal without any manual input. This instant network switching process works because your device compares signal strength and roaming costs in the background, then swaps profiles or access points while maintaining your active connection. You simply see your bars refresh, and data flows as if you never left home. The switch feels seamless, but it actually involves a quick handshake between your phone, the local tower, and your eSIM provider’s server. Background updates refresh your carrier list periodically, ensuring you always connect to the best option available.
In simple terms, your global eSIM auto-selects the best local network the moment you land, handling the switch invisibly in seconds.
Understanding Local vs. Regional vs. Global Coverage Tiers
When you land abroad, your eSIM’s coverage tier dictates which networks you’ll actually touch. Local vs. regional vs. global coverage tiers determine cost and connectivity at the moment you switch off airplane mode. A local tier locks you to one country’s networks, often the cheapest for a single destination. Regional tiers bundle neighboring countries—think Europe or Southeast Asia—so crossing borders avoids re-purchasing data. Global tiers claim near-universal reach, but often route through slower partner networks, making them ideal for multi-continent jaunts where convenience outweighs speed. Before you buy, map your itinerary; picking a tier too broad wastes money, too narrow strands you at customs.
Step-by-Step: Setting Up Your First International Data Profile on a Phone
Setting up your first international data profile on a phone with a global eSIM takes under five minutes. First, confirm your handset is carrier-unlocked and eSIM-compatible—most modern flagships qualify. Next, purchase a global eSIM plan from a provider’s app or website; you’ll receive a QR code or installation link instantly. Open your phone’s Settings, tap “Cellular” or “Mobile Data,” then “Add eSIM.” Scan the QR code or paste the activation code manually. After installation, label the profile (e.g., “Travel”) and set it as your default data line. Crucially, switch off “Allow Cellular Data Switching” to prevent billing surprises if your primary SIM remains active. Finally, reboot your device, enable roaming for the eSIM profile only, and test connectivity by toggling airplane mode. Your international data goes live immediately, with no physical SIM swap or local carrier visit required.
Scanning a QR Code vs. Manual Installation – Which Is Faster?
When setting up a global eSIM, QR code scanning is almost always faster than manual installation. Scanning automates the entry of the SM-DP+ address and activation code, completing the profile download in under a minute. Manual entry requires you to locate the provider’s activation string, then carefully type a long alphanumeric code, risking typographical errors that force a re-start. For most international travelers, QR scanning wins on speed and accuracy. However, if your phone’s camera is broken or the QR email fails to load, manual entry remains functional—just expect five to ten extra minutes of careful transcription.
Managing Multiple Profiles: Keeping Your Home Number Active Simultaneously
When configuring your first international data profile, keep your home SIM active by enabling dual SIM functionality rather than removing it. This preserves incoming calls and SMS to your primary number while routing data through the foreign eSIM. On iPhone, assign the data line to your travel profile and set the home line as the default for voice. On Android, toggle “calling preference” to the physical SIM. Your home number will remain reachable only if you disable “data switching,” which otherwise pulls cellular data from both lines and drains battery. For a clear sequence: 1) Insert your physical home SIM. 2) Add the eSIM profile via QR or manual entry. 3) Designate the eSIM as data-only in settings. 4) Keep your home line for calls and texts, but avoid using it for iMessage/FaceTime over data—those will fall back to the eSIM automatically.
What Are the Hidden Benefits of Using a Travel Data Card for Frequent Flyers?
The frequent flyer’s real advantage with a global eSIM travel data card isn’t just avoiding roaming fees—it’s the invisible continuity it provides. Between a 6 AM landing in Singapore and a midnight layover in Doha, your eSIM profile stays live, so you never hunt for airport Wi-Fi to check gate changes. The hidden perk is fixed local pricing that bypasses the shock of per-megabyte charges, even in transit countries you never planned to visit. Another quiet benefit: your primary SIM remains untouched, so banking OTPs and two-factor authentication keep flowing to your home number, while the eSIM carries data traffic. The true gift is zero dead-zone anxiety when you land—no airport kiosk queue, no physical SIM swap, just instant connectivity that feels as natural as breathing at 35,000 feet.
Cost Savings Compared to Daily Carrier Roaming Charges

For frequent flyers, the cost savings compared to daily carrier roaming charges become obvious within a single trip. Daily roaming fees often exceed $10–15 per day, adding up to hundreds of dollars monthly. A travel data card, by contrast, charges a flat rate for a set data pool, meaning you pay only for what you actually use. If you fly twice a month, the difference is stark: pay $30 for two roaming days versus $15 for a 1GB regional eSIM plan that lasts all week. Even a single unused roaming day is pure waste, while an eSIM’s balance rolls over within its validity period. For a sequence of savings:
- Compare your carrier’s per-day charge against the eSIM’s total plan cost.
- Estimate your average data usage per trip to select the smallest sufficient package.
- Choose a regional plan instead of separate national plans to cut costs further.
The math consistently favors the eSIM, especially for back-to-back flights.
Battery Life and Convenience: No More Fumbling With Tiny SIM Trays
Swapping physical SIMs mid-trip drains your device’s battery as the radio repeatedly searches for a carrier, whereas a global eSIM eliminates that power-draining hunt. You also skip the fiddly process of ejecting tiny SIM trays at airport gates, which risks losing the card or damaging the slot. Instead, you scan a QR code or download a profile before departure, instantly activating a local network. This saves both time and battery, since you avoid toggling airplane mode to insert cards. For frequent flyers, instant eSIM activation preserves battery life by maintaining a stable connection without hardware handling.
- No tray ejection means zero dropped cards and no scratched phone frames.
- Pre-installed profiles prevent the battery-draining “no SIM” search loop.
- Switching networks remotely avoids powering down, saving up to 15% charge per flight leg.
How to Pick the Right Global Connectivity Package for Your Trip Duration
For a global eSIM, match your **package duration** to the exact number of travel days, not the calendar month, to avoid paying for unused coverage. Trips under 10 days typically suit a 7-day data-only plan with a hard cap, while 2–3 week journeys require a 15-day or 20-day package that allows hotspot tethering. For multi-month stays, opt for a 30-day renewable plan with automatic top-ups, ensuring your activity level—light mapping versus heavy streaming—dictates the gigabyte allotment. Always check that the package’s validity starts on your first connection, not the purchase date, and choose a plan with rollover data if your itinerary has gaps.
For unpredictable schedules, pick a shorter duration with a larger data allowance, as extending a global eSIM mid-trip is often pricier than buying a fresh package.
Data Allowance Calculation: Streaming, Navigation, and Social Media Usage
Calculating your data allowance for global eSIM travel hinges on usage intensity across streaming, navigation, and social media. Streaming video in HD consumes roughly 3GB per hour, while standard definition uses 1GB; audio streaming runs about 150MB hourly. Navigation apps like Google Maps use only 5–10MB per hour when actively routing, but downloading offline maps for your entire destination can pre-load 300–500MB and cut live usage to near zero. Social media scrolling averages 200–300MB per hour if autoplay is on, yet disabling video previews slashes this to under 50MB. *A 10-day trip with two hours of daily streaming, four hours of navigation, and three hours of social scrolling will demand approximately 8–10GB, whereas a predominantly offline itinerary with cached maps and pre-downloaded playlists can thrive on 2GB.* Always factor a 20% buffer for background app refreshes, then match the closest eSIM tier to that calculated total, not your plan’s advertised “unlimited” claim.
Pay-As-You-Go vs. Pre-Paid Data Bundles – Which Fits Your Travel Style?
Pay-As-You-Go vs. Pre-Paid Data Bundles – Which Fits Your Travel Style? hinges on how predictable your data hunger is. For spontaneous explorers who hop borders or work remotely with fluctuating needs, pay-as-you-go eSIMs offer ultimate flexibility—you buy a top-up only when your balance dips, avoiding waste on idle days. Conversely, pre-paid bundles shine for structured trips with a fixed length and known usage, like a two-week beach vacation, where locking in 10GB upfront cuts per-GB costs dramatically. Match the option to your itinerary’s rhythm, not just its duration.
- Choose pay-as-you-go if you mix heavy streaming days with offline sightseeing.
- Pick pre-paid bundles for constant navigation, social sharing, and hotspot use.
- Pre-paid saves money on long stays; pay-as-you-go prevents overpaying for unused data.
- Hybrid eSIMs let you start bundled, then switch to top-ups mid-trip.
Common Pitfalls and Troubleshooting Tips When Using an International Mobile Profile
The most common pitfall with a global eSIM profile is assuming coverage means identical performance—expect rapid speed drops when you hop regions, so check the provider’s local network partners before relying on video calls. Another frequent trap: installing the profile before departure, which can activate your data plan early and burn days; instead, install but keep the line disabled until you land. If connectivity suddenly fails, toggle airplane mode for 60 seconds—this forces a re-registration with the local tower, clearing most ghost signal issues. APN settings are the silent culprit; if you see “no internet” yet bars, manually input the provider’s APN from their support page, not your home carrier’s. Also, never delete the profile as a “reset”—you may lose your original SIM’s saved settings, and re-downloading requires Wi-Fi. Finally, roaming partners can intermittently blacklist active data sessions during network handoffs, so persistent disconnects often vanish after a reboot. Always screenshot your eSIM QR code before traveling, as email access may fail mid-trip, locking you out of a crucial re-install.
What To Do When You Have No Signal Right After Activation
When you see no signal right after activation, first toggle airplane mode on for thirty seconds, then off, to force a network re-registration. If that fails, manually search for networks in your device’s cellular settings and select your provider’s available partner network rather than relying on automatic selection. Next, verify that your APN settings are correctly configured, since a missing APN often blocks data service despite a visible signal bar. Also, confirm that data roaming is enabled for your eSIM line specifically, as this toggle is separate from the primary line. Finally, restart the phone once more, and if nothing works, contact your eSIM provider for a signal refresh or profile re-provisioning.
Device Compatibility Checks: Which Phones and Tablets Support Virtual SIMs
Before relying on a global eSIM, verify that your device is truly unlocked and lists eSIM support in its official specifications, as device compatibility checks for virtual SIMs differ by model and region. Recent flagship phones from Apple, Google, and Samsung generally support eSIM, but many budget Android phones and older tablets lack the necessary hardware. For tablets, check if the model has a cellular variant, since Wi‑Fi-only versions almost never include an eSIM chip. Also confirm that your carrier’s international profile is compatible with your specific device firmware, not just the brand. Even a compatible phone may fail if its eSIM manager is disabled by a regional software build or a locked bootloader. Finally, consult the manufacturer’s IMEI checker or the eSIM database before purchasing a plan.